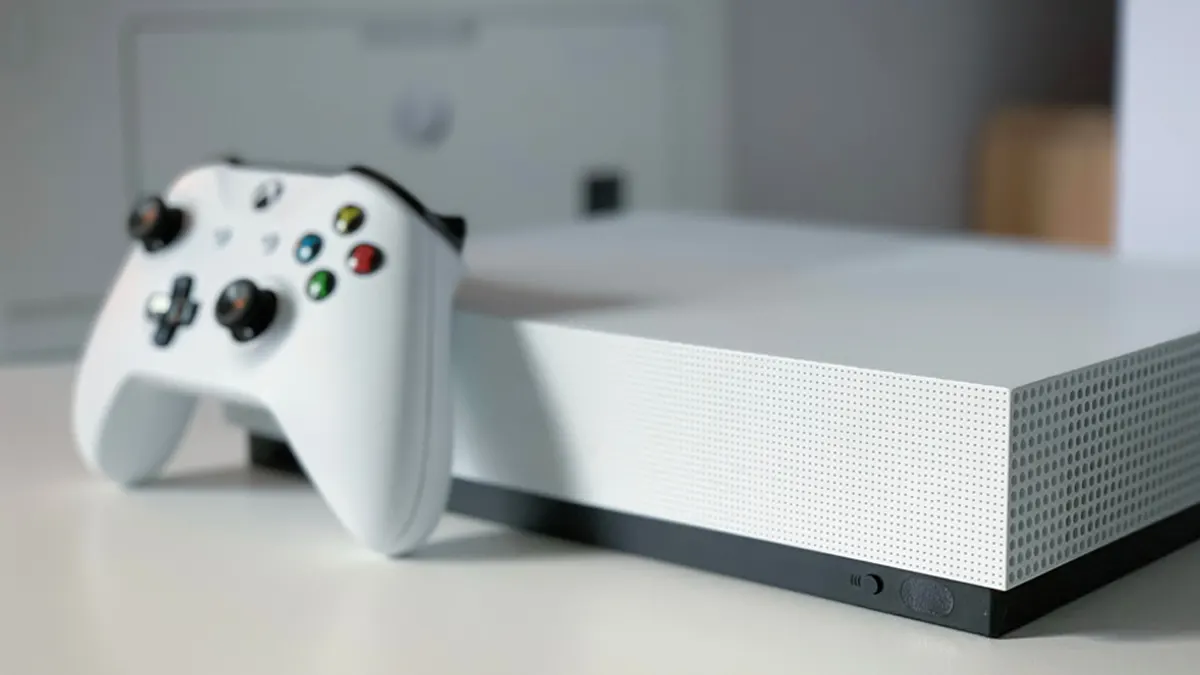
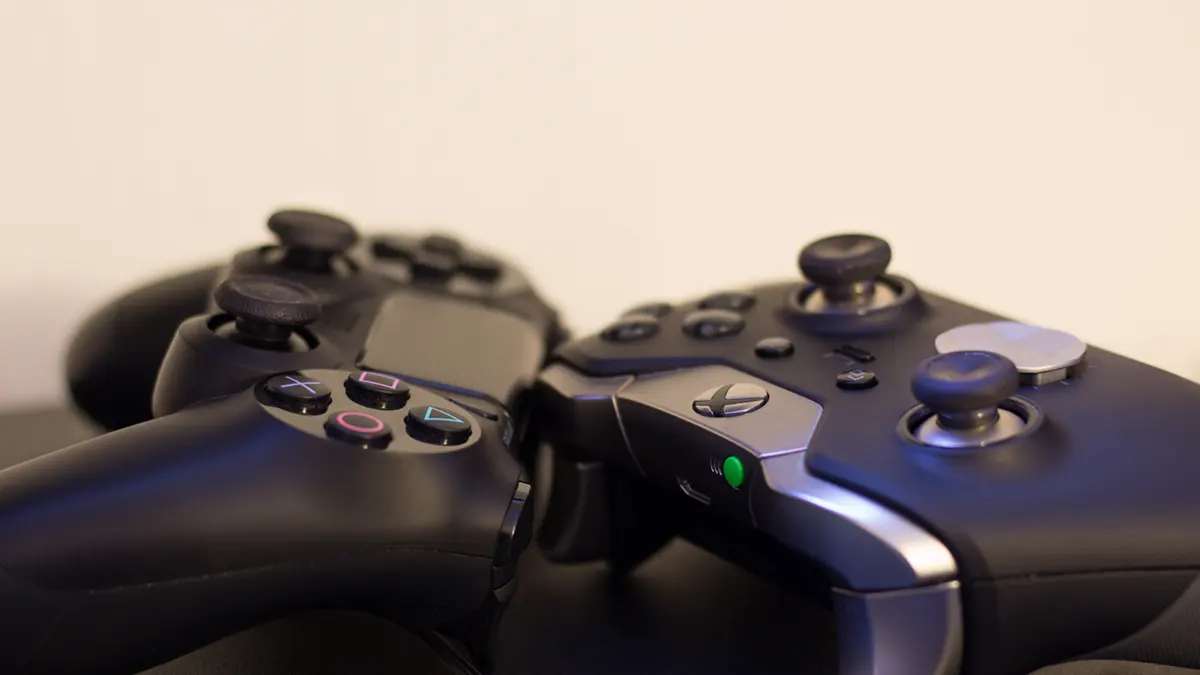
A controller is a widespread gaming accessory to play games with, it makes the single-player gaming experience more immersive and cushy because of its handy and comfortable form factor as well as the haptic controls that are built into them. Even though the controller is usually a console accessory, Windows 10 and 11 have eliminated the incompatibility barrier and made it an almost plug-and-play thing. This also indicates, that you do not have to calibrate the controller yourself, instead, Windows will automatically do that for you, especially if you have an Xbox One or Series controller.
A well-calibrated controller means that you will have the best one of the best gaming experiences that you could get out of the Xbox One controller, especially in single-player games, you will be able to take action right away in time-limited situations. However, due to an unexpected reason, your controller might not start working as intended, and you would have to troubleshoot and recalibrate it yourself. But since you didn’t do it even for the first time, how would you do it now? That’s the question that will be circulating in your head. Well worry not, this guide will help you recalibrate if you were using the controller for some time, or calibrate for the first time if it’s a third-party controller.
Understanding Controller Calibration
Controller calibration is the process where you configure the actions of each button as well as the stick of the controller according to your preferences. In-game movements are aligned with the actual button presses on the controller, which allows you to control and play the game the way you want to. A well-calibrated controller also helps in reducing input lag, which ensures that you don’t miss out on the timed moments that occasionally occur in games. The consistency of timely inputs can really enhance the way you play games, because, if the inputs aren’t consistent, then you’re going to lose frequently in games. This can be quite discouraging when the button you press fails to register on time or fails to register at all. This is why you should keep your controller calibrated to avoid such misfortunes from happening.
Preparing for Calibration
In order to start calibrating the controller, you need to ensure that you have the right stuff, to begin with; including the Xbox One/Series Controller, a Micro-USB/USB Type-C cable, and of course a PC or an Xbox One/Series Console. These are the only things necessary to start the calibration process, however, there’s one thing more to remember. If you’re on a PC and your motherboard doesn’t feature BT functionality, then you better get yourself a Bluetooth dongle too while you’re at it. It will be required to use the controller wirelessly on your computer. Otherwise, if you do not wish to use the controller wirelessly, you can continue using it with the cable. Furthermore, in order to maintain maximum focus, it is recommended to seek a quiet and cozy environment to carry out the process of controller calibration, this will enable you to calibrate the controller in a suitable manner.
Basic Steps for Xbox One Controller Calibration
The steps involving the method to calibrate the Xbox One/Series controller are quite easy and straightforward and only take a few minutes to complete, especially using the Xbox Accessories App which can be downloaded via the Microsoft Store available on both the console and Windows 10/11 PCs. Once you have downloaded and installed the Xbox Accessories App, simply just open it up while your controller is plugged into the PC/console via the required cable. Although, you can do the calibration by letting the controller stay connected wirelessly, however, it is instructed to use the wired connection for better contact between the controller and the PC.
Once everything is connected, head over to the configure menu that offers customization of the controller buttons, triggers, and thumbstick sensitivity. Let’s start with the thumbstick calibration and its benefits.
Thumbstick Calibration
Thumbstick calibration is one of the crucial ones, the two thumbsticks present on the controller are responsible for the character and camera movements, which, if not configured correctly can cause inaccurate aim and character movements, potentially leading towards mission or match failure. Now that’s something nobody would like to see happening to them. So, inside the Xbox Accessories App, open the configure menu and then select the thumbstick tab. Do note, though, that there are two different thumbstick tabs available, separate for right and left thumbstick.
The right thumbstick tab can be accessed to configure the way your in-game character moves, a few presets alongside a fully customizable graph are available which you can play with to set the thumbstick according to your preferences. It’s going to take a while, but in the end, you’ll definitely get the optimal results. Similarly, the left thumbstick also follows an identical methodology for calibration, wherein you have to adjust the settings which suit your gameplay in the finest way possible.
Trigger and Button Calibration
Now that we’re done with thumbsticks, let’s move on to the triggers, which are yet another essential part of the controller and play a rather monumental role in games, especially when the genre is shooters or racing. Triggers are used mainly for locking down aim and then shooting in First and Third-Person Shooters. And for brake and vehicle acceleration in the Arcade or Sim-Racing titles like Need for Speed and Forza Motorsports.
Inside the Triggers tab, you can calibrate its responsiveness and the amount of pressure you want it to remember when you press either of them in-game. This will undoubtedly enhance the entire gaming experience and with some additional personal tweaks to the settings, you would be able to play better than how you were used to with the default settings.
Let’s get into the button calibration now, slide over to the buttons tab, and there you will witness quite a lot of different options. Moreover, you can map each button individually. Meaning, you can decide for yourself and set what each of the buttons will do once they’re pressed and avoid any kind of skipped or wrong input.
Ending Remarks and Alternative Methods
This was all about the Xbox Accessories App and how you can calibrate your Xbox One/Series controller using the aforementioned app. Now, let us proceed toward alternative methods for controller calibration that do not necessitate the installation of any application.
Calibrating Xbox One/Series Controller Using Control Panel
The Xbox Accessories App is not the only way to calibrate your Xbox One/Series controller, especially when your platform is PC and not the Xbox console itself. The steps are super easy and don’t involve anything too complicated to make things worse.
Steps:
- The first thing that you have to do is connect your controller to the PC via any compatible cable. Although, you can proceed with a wireless connection, however, it would be wiser to do the process using a wired connection.
- After that, you have to head over to the Windows Control Panel, this isn’t as visible as it used to be in Windows 7 and 8. In order to open Control Panel, access the search bar or alternatively just press the Start/Windows logo button and type “Control Panel”. The Control Panel will immediately pop up, which then you can access by clicking on its icon.
- Since you’re inside the Control Panel now, you will see a lot of different tabs, each for a unique purpose. Look for “Devices and Printers” and open it right away.
- Inside “Devices and Printers”, you can find the connected controller there. Now that you have found it, right-click on it to access the drop-down menu. From there, you have to select the 2nd option, which is “Game controller settings”.
- After doing so, a new window will pop up on the screen, then click on “Properties” and go into the “Settings” tab.
- Now, finally, you will see the box titled “Calibrate”. Click to open the calibration wizard, from there onward follow the instruction and calibrate everything starting with finding the center point of the D-Pad. When you are satisfied, go on and press any button to proceed to the next step.
- On the next page, you can find the corners of the D-Pad/left thumbstick. Move the left thumbstick on all corners to check whether it’s working as it should, or if is there a problem waiting to be rectified. Click on next when you’re done with Axis calibration.
- On the next page, you have to verify the Center Point one last time, after doing so, you can proceed further.
- The subsequent step entails the calibration of the right thumbstick, which is responsible for the in-game camera movements and thus holds immense value. For the right thumbstick calibration, you will have to traverse through three distinct pages, implying that you have to calibrate the X, Y, and Z axis individually. Each time, it is necessary to move the right thumbstick in the prescribed direction in order to verify whether the thumbstick is functioning perfectly or exhibiting signs of a potential dead zone or no input at all.
- In the end, when you’re done with the calibration of both sticks, you can click on finish to close the wizard window, it will save the settings automatically. Besides that, you can click on the test tab to check the controller properly, on the aforementioned tab, press each button and move both thumbsticks to see whether your calibration process was a success or not.
- Moreover, it would be wiser to conduct a thorough inspection of the controller in games that you intend to engage in and determine the accuracy of the entire calibration process.
Calibrating Xbox One/Series Controller Using Steam
Many applications offer controller calibration, one of which is Valve’s renowned game store “Steam”. It is the most popular game store that PC users prefer to use over any other store like the Epic Games Store and Origin. One of the reasons behind this is that Steam tends to offer more than any other PC games store, and controller calibration is certainly one of them. With Steam, you can calibrate the controller for each game separately in order to get the most out of them. Now, without any further ado, let’s see how it’s done.
Steps
- Install Steam if you haven’t done so already and get straight into it, log in with your credentials and click on the “View” option to access the drop-down menu.
- Now click on “Big Picture Mode” to enter a console-like UI environment from where we will be able to access the calibration menu.
- After doing so, click on the “Settings” icon, which is right next to the power option in the top right corner.
- Inside the Settings tab, select and open “Controller Settings”, which is visible under the “Controller” section.
- Once in, check the “Xbox Configuration Support” box and wait for the drivers to get installed, which might require a Steam restart.
- Now click on “Calibrate” to start the calibration process. Once the Calibration window is wide-open, enable the Lock-Out Joystick Navigation option.
- Since the aforementioned process is done and dusted, click on Start Full Auto Calibration, on the next window, and follow the instructions including the thumbstick movements. The windows will close automatically once the process is done.
- We’re not done yet, click on Calibrate again, and now lock the thumbstick navigation again as well.
- This time, we’re going to tinker with the two sliders that are right under the lock thumbstick navigation option. Select those sliders and adjust the dead zones manually, give it time, and see which setting suits you better. Adjusting dead zones would highly benefit those possessing a rough and old Xbox One controller with defective thumbsticks that can’t remain motionless.
Additional Calibration Tips
Opting for high sensitivity can be beneficial for faster in-game camera movements. However, this might not be a good choice in First-Person Shooter titles. Moreover, if the right thumbstick’s sensitivity is already higher than it needs to be, then crank the sensitivity slider down to your preferred level. A slower sensitivity can enable you to shoot with better precision in First-Person Shooters such as Call of Duty or Battlefield franchise.
In addition, you can have different profiles for every game you play belonging to a different genre. Having a similar level of sensitivity in racing and shooting games may pose challenges, particularly in regard to handling the character or vehicle. This is why you should definitely opt for the procedure, and calibrate it the way that suits you in the best possible way. Otherwise, you’re just skipping out on the extra precision that can be achieved with just a little bit of tweaking with the controller settings.
Maintenance and Regular Calibration
Maintenance is one of the most neglected aspects of buying a product, especially when it’s either mechanical or electronic. Controllers also come under such a category and require recurring maintenance since they wear and tear over time. So, what you need to do is to take proper care of them, like keeping them cleaned and calibrated. Regular calibration ensures that you stay as sharp and effective in games as you would be with a newer controller.
Conclusion
Lastly, I would like to once again emphasize the importance of controller calibration, no matter if it’s brand-new or years old. The calibration of the controller can prove to be a significant aid in maximizing its capabilities, especially when you’re engaged in your favorite titles. Most people really underestimate the benefits of controller calibration and overlook the procedure to the extent that they end up replacing their controller with a new one if anything goes wrong with the previous one.
This article was written to assist in the calibration process, as well as to reiterate the importance of calibrating the controller. Now that we have covered all the different methods of controller calibration in-depth, it is sufficient to say that most of your messed-up control issues will be resolved.